
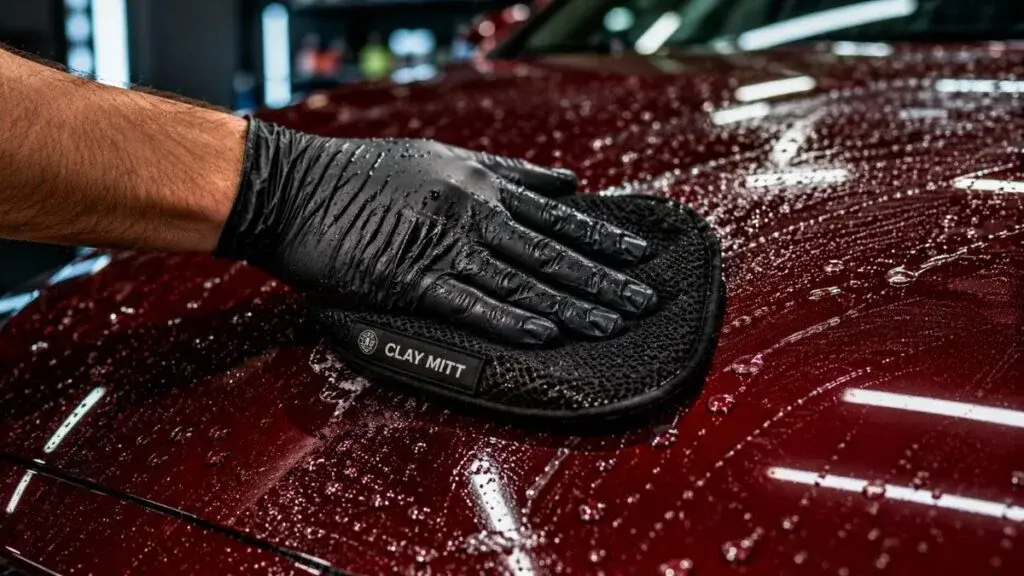
Achieving a true showroom shine isn’t just about washing your car with soap and water. Even after a thorough wash, your vehicle’s paint can still feel rough like sandpaper. This rough texture is caused by bonded surface contaminants—such as industrial fallout, brake dust, tree sap, tar, and embedded road grime—that normal car shampoo simply cannot eliminate. Using a high-quality clay mitt is one of the fastest ways to solve this issue safely without spending hours on hand labor.
For years, professional detailers relied exclusively on traditional detailing clay bars to lift these stubborn embedded particles. However, modern detailing technology has introduced a faster, far more efficient alternative that simplifies the paint prep stage for DIY enthusiasts and professionals alike.
In this comprehensive guide, we will break down what a clay mitt is, how it compares to the traditional clay bar, real-world limitations you must know, step-by-step instructions, and critical usage tips to keep your paint scratch-free. For more expert guides and surface restoration techniques, explore our latest updates on AutoGlowHacks.
What Is a Clay Mitt and How Does It Work?
A clay mitt is a specialized synthetic glove designed for rapid automotive paint and glass decontamination. It features a soft microfiber glove layout on one side and a flexible, synthetic polymerized rubber coating on the other.
When glided over a lubricated surface, the specialized polymer layer catches and lifts bonded contaminants like resin, tar, and insect marks away from the clear coat. Unlike porous natural clay that traps dirt deep within its core, a synthetic clay mitt pulls particles off the paint while allowing you to rinse them away easily under fresh water.
Because of its broad surface area, a clay mitt covers significantly more ground than a small piece of traditional clay. This efficiency makes routine decontamination dramatically faster across large flat panels like hoods, roofs, and trunks.
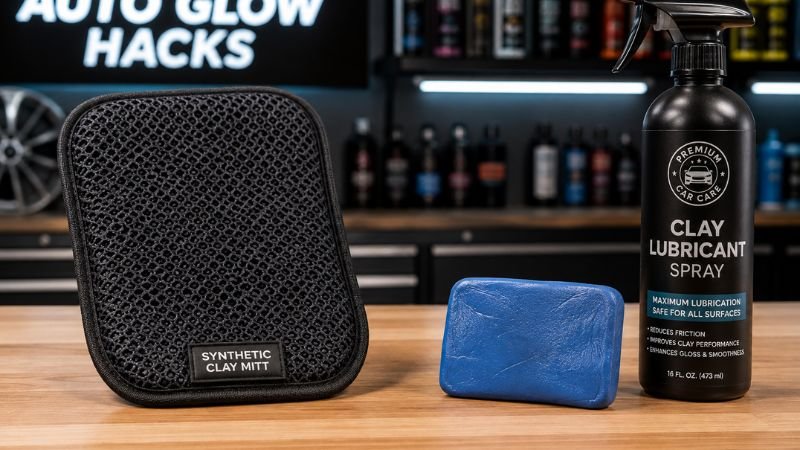
Clay Mitt vs. Traditional Clay Bar: Which One Should You Choose?
While choosing a clay mitt is hugely popular for speed and ease of use, experienced detailers know that both options have their specific advantages depending on paint condition.
| Feature | Traditional Clay Bar | Synthetic Clay Mitt |
| Speed & Coverage | Slower; best for tight spots/badges | Ultra-Fast; covers large panels quickly |
| Heavy Contamination | Excellent scrubbing/lifting power | Can struggle on heavy, baked-in grime |
| Dropping Risk | Must throw away immediately if dropped | Easily rinsed with clean warm water |
| Durability | Single-use or 1–2 cars | Reusable up to 20–40 sessions |
| Risk of Scuffing | Lower risk of rubber transfer | May leave rubber “skid marks” if forced |
Detailed Comparison:
- Time Saving: A standard clay bar routine can take anywhere from 45 to 60 minutes for an average sedan. In contrast, using a clay mitt allows you to finish the entire vehicle in 10 to 15 minutes.
- Accidental Drops: The biggest headache with a natural clay bar is dropping it on the driveway floor. It immediately picks up severe grit and must be thrown away. If you drop your clay mitt, a quick wash under warm water removes all floor dirt, making it ready to use again instantly.
- Ergonomics: Kneading and reshaping traditional clay repeatedly leads to severe hand fatigue. Using a clay mitt lets you slip your hand inside comfortably, giving you maximum grip control during long detailing sessions.
The Real-World Verdict:
- Use a Clay Mitt for: Light to moderate contamination, routine maintenance claying, large flat panels, and quick prep before light polishing or applying a ceramic spray sealant.
- Use a Clay Bar for: Neglected, heavily contaminated paint that hasn’t been washed in years, or intricate areas around emblems, badges, and sharp body lines.
⚠️ Important Caution: Avoid “Rubber Scuffs” & Marring
One common mistake DIYers make with synthetic clay mitt products is trying to heavy-scrub stubborn bugs or baked-in tar spots.
💡 Pro-Tip from Real Detailers: Pressing down too hard or using an unlubricated clay mitt can leave thin, rubberized “skid marks” or linoleum-style scuffs on the clear coat.
- How to Avoid: Never force or scrub with a clay mitt. Let the chemical lubricants do the work.
- How to Remove Scuffs: If light rubber scuffs occur, they can be easily removed using a solvent tar remover or a light pass with a dual-action (DA) polisher.
Essential Supplies for Paint Decontamination
Before starting the cleaning process, gather the following detailing tools to ensure a smooth operation:
- High-Quality Synthetic Clay Mitt
- Dedicated Clay Lubricant (or high-lubricity rinseless wash solution)
- Chemical Iron Remover (Optional but recommended for heavy iron fallout)
- Clean Microfiber Towels (For wiping away residue)
- Two Wash Buckets with Grit Guards
Step-by-Step Guide: How to Use a Clay Mitt Safely
Follow this streamlined, beginner-friendly process to achieve smooth, glass-like paint without introducing micro-scratches:
Step 1: Complete Wash & Chemical Decon
Thoroughly wash your vehicle to remove all loose dirt, mud, and traffic film. Before starting mechanical decontamination, it is best practice to perform a proper DIY car wash to prevent dragging loose grit across your paint layer. For deep cleaning, apply an iron remover spray to dissolve embedded brake dust and ferrous metals prior to mechanical claying.
Step 2: Pre-Rinse & Prepare the Mitt
Before using a brand-new clay mitt for the first time, rinse it thoroughly in warm water to break in the polymer layer. Soak the clay mitt in clean soapy water to soften the synthetic surface for maximum flexibility.
Step 3: Apply Ample Lubrication
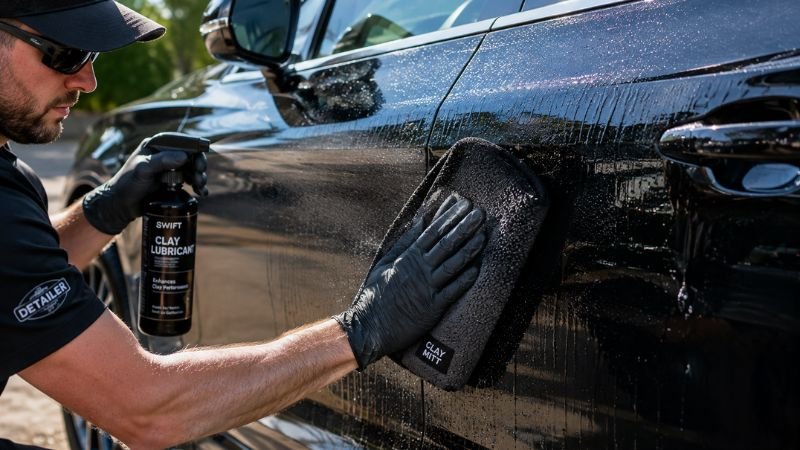
Never use a clay mitt on a dry surface. Spray a generous amount of dedicated clay lubricant directly onto the paint section and onto the rubber side of the clay mitt.
Step 4: Gentle Straight-Line Passes
Slide your hand inside and glide your clay mitt over the lubricated panel using light pressure in straight, overlapping movements (side-to-side or top-to-bottom).
- Do not apply heavy downward pressure—let the weight of your hand work naturally.
- Keep the surface slippery at all times by adding more lubricant if needed.
Step 5: Rinse Frequently & Wipe Clean
Rinse the clay mitt regularly in a bucket of clean water to remove collected particles. Once a section feels completely smooth to the touch, wipe it clean with a soft microfiber towel. If you notice fine lines or minor surface flaws after cleaning your glass sections, check out our guide on how to remove windshield scratches for effective glass restoration tips.
🚫 Critical Usage & Maintenance Rules for Long Tool Life
To ensure your clay mitt lasts for up to 40 uses, keep these essential care rules in mind:
- Avoid Harsh Solvent Cleaners: Never expose your clay mitt to aggressive solvent-based cleaners, as solvents will melt and permanently ruin the synthetic polymer coating.
- Keep Away from Extreme Heat: Do not dry or store your clay mitt in direct sunlight, hot garages, or high-heat environments.
- Plan to Protect (or Polish) Afterward: Decontamination strips away old waxes and weak paint sealants. Always follow up with a fresh sealant, ceramic spray, or wax. To understand the science behind auto surface protection and clear coat safety, you can read Meguiar’s Guide to Clay Bars.
- Air Dry Properly: After washing your clay mitt with warm water, let it air dry indoors on a clean towel with the rubber side facing up. Store it so the rubber surface does not touch flat plastic bags or vinyl.
Frequently Asked Questions (FAQs)
1. Does a clay mitt scratch clear coat paint?
When used with adequate lubrication and light pressure, a clay mitt will not scratch your paint. However, using it on a dry surface or pressing too hard can cause minor rubber marring, which requires light polishing to remove.
2. Can I use car soap as a lubricant for my clay mitt?
Yes, provided the car soap is slick and high in lubricity. Avoid using dish washing liquids or harsh degreasers, as they break down synthetic rubber over time.
3. How often should I decontaminate my car?
Most daily drivers only require deep decontamination 1 to 2 times a year—typically in the spring and before winter protection application.

Summary
Upgrading to a modern clay mitt is a massive time-saver for any car detailing routine. When paired with proper lubricant and light pressure on light-to-moderate surface contamination, a clay mitt delivers smooth, glass-like paint in a fraction of the time required by traditional clay bars.