
Introduction
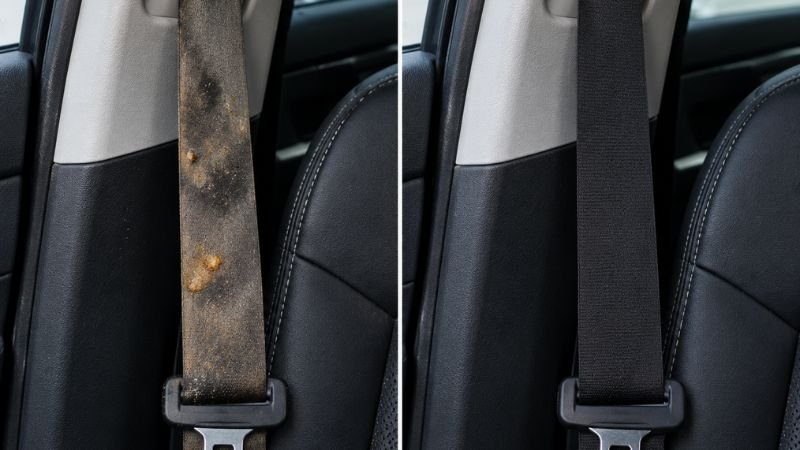
Learning how to clean seat belts is one of the most overlooked parts of routine vehicle maintenance. Over time, sweat, body oils, coffee spills, and food grease build up on the webbing, making the belts look discolored, sticky, and foul-smelling.
However, knowing how to clean seat belts properly requires more than just spraying a heavy-duty degreaser or using household bleach. According to the National Highway Traffic Safety Administration (NHTSA) under the Federal Motor Vehicle Safety Standard (FMVSS No. 302), vehicle seat belts are treated with a specialized fire-retardant coating. Using harsh chemicals or soaking the retractor can compromise both your safety and the belt’s locking mechanism.
In this guide, we’ll walk you through the safest, step-by-step DIY method on how to clean seat belts without ruining their structural strength or retractor functionality.
Tools and Materials Needed
Before starting the process of how to clean seat belts, gather the following safe, fabric-friendly tools:
- Mild Cleaner: Dedicated automotive fabric cleaner or mild dish soap diluted in warm water.
- Soft-Bristle Brush: An interior detailing brush or a soft toothbrush (avoid wire or hard nylon brushes).
- Microfiber Towels: Clean, dry microfiber towels for wiping and drying.
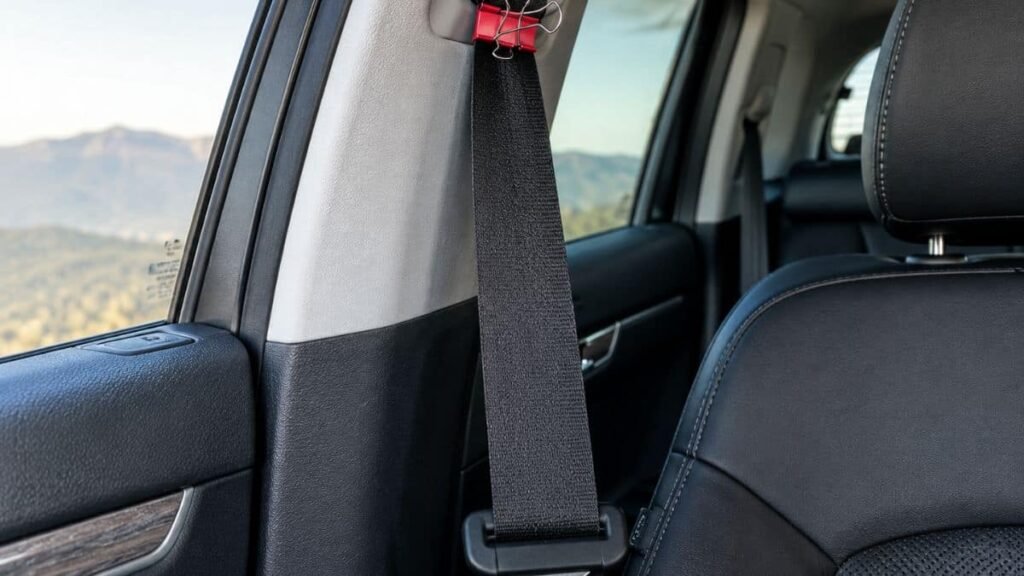
- Towel Clamp / Binder Clip: To lock the extended belt securely in place.
- Warm Water: In a spray bottle or small bucket for light rinsing.
⚠️ What to Avoid: Never use chlorine bleach, isopropyl alcohol, acetone, gasoline, or heavy solvents. These chemicals break down polyester fibers and strip the factory flame-retardant layer.
Step-by-Step Guide: How to Clean Seat Belts Safely
Step 1: Fully Extend and Clamp the Belt
Pull the seat belt all the way out until it reaches its maximum length. Place a binder clip or towel clamp near the retractor exit slot at the top column.
- Why this matters: Clamping prevents the belt from snapping back while wet. Introducing moisture inside the internal retractor mechanism can cause rust, mold growth, or mechanism failure.
Step 2: Apply the Fabric Cleaner
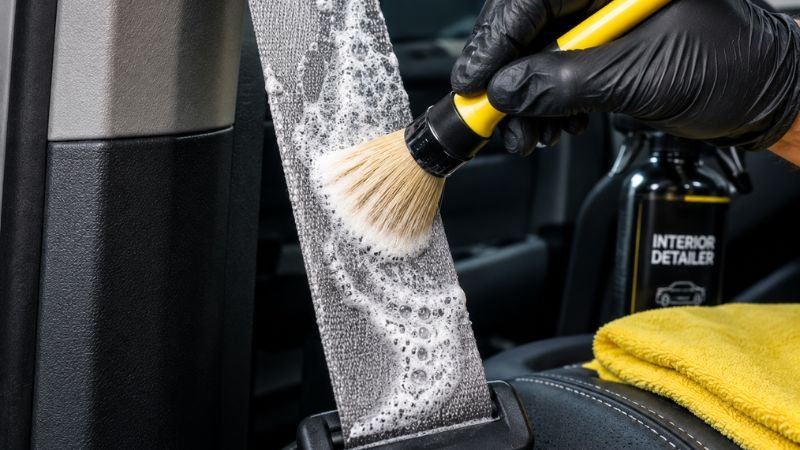
Lightly spray your chosen fabric cleaner onto the seat belt webbing or directly onto your soft-bristle brush.
- Pro Tip: Do not oversaturate the belt. The secret to how to clean seat belts effectively is lifting surface grime without soaking the core polyester fibers.
Step 3: Agitate Stains with a Soft Brush
Working from the top of the belt down toward the buckle, scrub gently using short, straight motions along the length of the webbing.
- Focus extra attention on the high-touch areas around the chest and lap zones where body oils accumulate.
- Avoid violent scrubbing across the edges to prevent the fabric from fraying.
Step 4: Wipe and Blot with a Microfiber Towel
Immediately after agitating a section, sandwich the belt between a dry microfiber towel and pull down firmly to absorb the dissolved dirt and cleaner residue.
- If stubborn coffee or oil stains remain, repeat the light spray and gentle agitation process.
Step 5: Wipe Down with a Damp Towel
Dampen a fresh microfiber towel with clean, warm water (wring out excess water until it’s barely damp). Wipe down the full length of the belt to lift any remaining soap residue.
Step 6: Allow Full Air Drying Before Retracting
Keep the clamp in place and leave the belt fully extended with the vehicle windows slightly cracked for airflow.
- Drying Time: Allow 2 to 4 hours to completely air dry in the shade.
- Warning: Never use a heat gun, hair dryer, or direct flame to speed up drying, as extreme heat weakens synthetic belt fibers.
(While working on your vehicle’s overall interior, make sure to also check our guide on how to remove water spots from car paint to protect your vehicle’s exterior finish.)
Common Issues When You Clean Car Seat Belts
How to Fix Sticky or Slow Retracting Seat Belts
If your seat belt fails to snap back after you clean seat belts, grime buildup along the top guide loop (the D-ring) is usually the culprit. Clean the plastic slot with a cotton swab dipped in rubbing alcohol, then ensure the belt webbing is 100% dry before testing retraction.
Dealing with Mold and Musty Odors
If your vehicle suffered a rain leak and the belts smell sour, do not use bleach. Instead, use an enzyme-based fabric cleaner designed for organic odor removal. Clean both sides thoroughly and ensure maximum air circulation during drying.
What NOT to Do When You Clean Seat Belts
- ❌ Do Not Machine Wash: Never unbolt and toss seat belts into a washing machine. The intense agitation ruins the weave.
- ❌ Do Not Pressure Wash or Steam Extract: High-pressure water and high-temperature steam drive moisture deep into the webbing and degrade the fire-retardant chemical treatment.
- ❌ Do Not Retract Wet Belts: Retracting damp webbing leads to mildew formation inside the interior B-pillar cavity.
Final Safety Inspection
Once you finish learning how to clean seat belts and the fabric is completely dry, remove the clamp and let it retract naturally. Inspect the webbing closely for:
- Any signs of fraying, cuts, or loose threads.
- Glazing or stiffening caused by previous chemical damage.
- Smooth, unrestricted locking action when pulled sharply.
If you spot structural fraying or if the locking mechanism fails, replace the assembly immediately for your safety.